Chris Padilla/Blog
My passion project! Posts spanning music, art, software, books, and more. Equal parts journal, sketchbook, mixtape, dev diary, and commonplace book.
- Skylark – Piano
- Boogie Woogie – Piano
- All the Things You Are – Chord Melody
- My Mix CD Intro
- To Zanarkand (not a jazz standard, but certainly a Final Fantasy standard!)
- Setting Up OAuth and Email Providers for Next Authentication
- Deploying Docker Compose Application to AWS EC2
- Configuring a CI/CD Pipeline in CircleCI to Deploy a Docker Image to AWS ECS
- Layers in a Java Spring Boot API
- Getting Started with LangGraph
- What Matters Most by James Hollis — Read this at least 5 times this year. Highly resonate. Would absolutely recommend to anyone that's reached the end of their success script in life.
- Rodney R. Rodney by Violaine Briat – A slice of life/comedy horror comic. A very particular flavor, and I'm all about it.
- Harmonic Experience by W. A. Mathieu – I spent a few evenings with this music text book. Absolutely beautiful. The most human approach to teaching theory. I wish I could go back and swap my theory classes with exercises from this book.
- The Sketchbook of Loish: Art in Progress — Stunning character art! I'm only just becoming familiar with her work and I haven't been able to get enough of it.
- FORCE: Dynamic Life Drawing by Mike Mattesi – My favorite figure drawing resource so far. A genuine focus is put on gesture and expression from the beginning. Works best when paired with the online video courses.
- Dynamo
- How Long Is a Piece of String?
- 5 Years of Programming and Leading With Curiosity
- Staying In the Ring
- James Gurney and Art as an Expression of Nature
- Solar eclipse!! 🌑
- A few great trips: Chicago for work, Austin for a friend's wedding, and Pennsylvania for Miranda's sister's wedding.
- Miranda and I saw Maggie Rogers in concert for our shared birthday. She was even better the second time!
- Also saw Lucinda Williams in concert. Still going strong!
- Playing in a community band! 🎷
- Got really into vintage PC's and ended up at VCF SW in Dallas. 💾
- Spending one day a week working from Denton before said community band rehearsals.
- Hosted a close friend from grad school several days in the fall.
- Moved to a more suburban part of Dallas. Loving it!
- A+ Christmas in Houston with Miranda and my folks. 🎄
Lemonaid
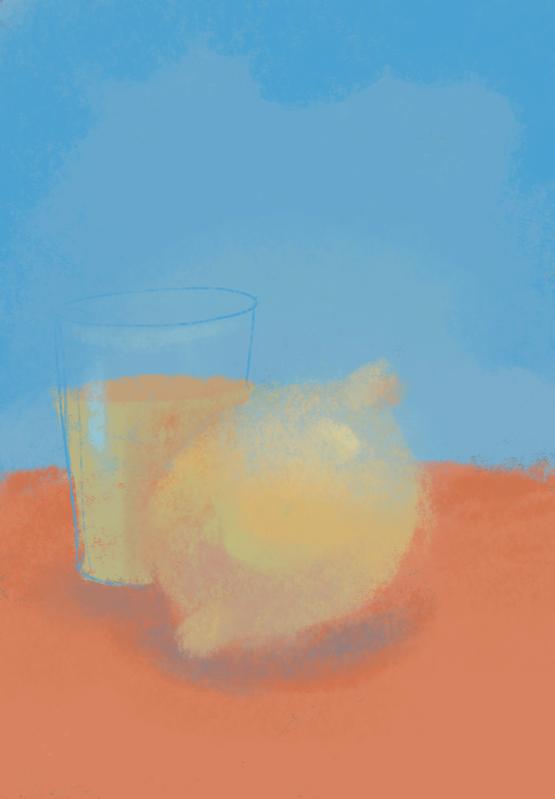
Unleash the power of the sun ☀️
Curation as Creation
Back at music school, a close friend and I were talking about creativity in our practice. We were studying classical music performance, where you don't write music, you play other people's music.
My friend was making the point that performers were not creative in the way that a composer was creative. (It's not an unreasonable opinion. I swear I read in one of Seth Godin's books a similar observation.)
But I didn't believe that was really fair.
Performers have a choice in how they spend their time: What styles they play, which composers they chose to perform, and how to bring life to what is really just dots on the page.
Several performers I know actually make a clear identity around their repertoire, be it pop covers, women composers, or Russian violin sonatas transcribed for saxophone.
Point being that, no, classical performers aren't in the weeds of deciding which notes to play. But that doesn't mean they aren't being creative.
I've made a move to write, compose, draw, develop software, and do all sorts of things that are considered more creative. But after a few years of this, I'll admit that it didn't take getting more granular in the decision making process to be creative. Curation itself has been a creative process.
This, in my mind, is another reason why being original shouldn't be a requirement that holds you back from doing whatever gets you excited to create. Even if your work is collaging.
2024
Well, the year's start comin', and they don't stop comin'. Neither do the year-in-review blog posts!
Chop Wood, Carry Water
I've entered a chop wood, carry water phase in several areas of my life. And I'm pretty satisfied with that!
I remember when I started learning to play saxophone as a kid. The first year or so were such a blast. There was something new to learn every day. The feeling of a new identity emerging was exciting. And each problem to tackle was wholly novel.
The further along I went, though, it became less about solving novel problems, and doing the common things uncommonly well.
This is where plenty of people will fall off of a project, or leave a skill after becoming an advanced beginner.
But I'll say that I've missed this feeling of routine. While it's not as flashy, there's something comforting about continuing to refine a skill or a project just a bit at a time through repeated effort.
I've tried new things and stretched, sure. Though, in a large part, they're continuations of things I've been doing for a few years now. And I'm happy to be settling in. The road stretches far ahead, and I'm looking forward to walking it. One foot in front of the other.
Art
In 2023 I taught myself to draw. In 2024, I focused on taking those skills to digital art. I've loved working with color and light.
I wrote down my impressions from the experience earlier this year.
I'm far from comfortable with it. When I'm a bit low on energy, I'll reach for a sketchbook, preferring figure studies and drawing from imagination. But digital painting has yielded my proudest pieces. And my album artwork has gotten much more interesting thanks to it!
More to continue into the next year!
Music
I thought I'd try to take things slow this year for writing music. But my curiosity got the better of me!
This year I released 9 short albums. I wanted to lean into recording more of my guitar playing. The Takanaka inspired Snow Cones, the moody midwest emo vibes of Dog Angst, the folksy Flowers album, the light acoustic Desert, and my recent swing at a punk single My Mix CD all satisfied that itch.
Compared to purely produced albums, these have been humbling. When producing, there's really only 2 phases: Compose & Refine. But with acoustic instruments, there's a third phase: Practice the Dang Part Until It Sounds Good. So they take a while! But it feels great to be bringing my own two hands into the music I'm writing!
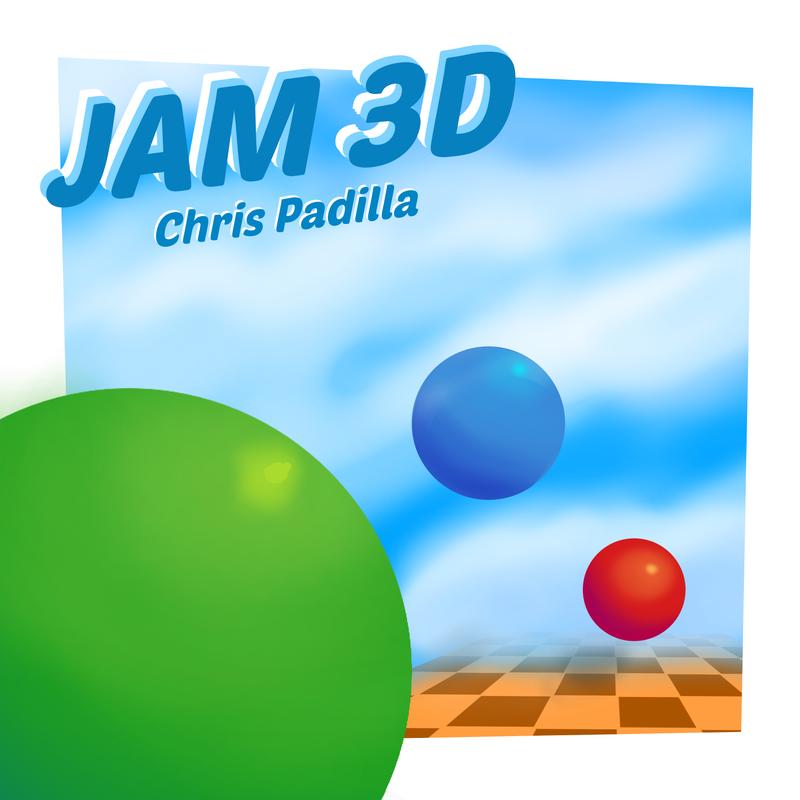
My production albums were fun explorations. Several tech nostalgia works: Drum and Bass with Space Frog 64, 80's fusion & atmospheric music with Jam 3D, Square's SNES era JRPG's with Super Duck RPG, and the Frutiger Aero aesthetic with SkyBox.
It's been a lovely year on piano and guitar, too. I've spent much of the year with jazz standards on piano, and just started doing the same on guitar partway through the year. Here are my favorite recordings:
Tech
It was a very DevOps year for me. I spent plenty of time during the year getting familiar with CI/CD processes as well as deploying Docker Images to AWS.
I aim to learn a new programming language each year to stay sharp. This year it was Java. Many similarities to C#, of course. And I'm appreciative of that — I felt there was more time to really get comfortable with the OOP aspects of those languages since there was so much that was already familiar.
While not a new technical skill, I'll say that I've been enjoying greater ownership in my work. It's highly gratifying to be taking on larger projects and responsibilities. And, of course, with that there's more to learn all the time. A happy position to be in!
Here are a few favorite posts covered on the tech blog this year:
Favorite Books Read
I didn't read too many new books. If anything, I enjoyed revisiting books from previous years. So here's a short list:
It may be time to revive a couple of good habits: Having an audiobook handy and leaving a new-to-me book by my bed.
Writing
I also eased up on writing this year. I wanted to pour more time into the crafts above. I noticed partway through the year that it was hard to find time to write fuller articles, so I started the Clippings tag. Still a collection in progress. It's something that I'm hoping to keep short and sweet. That way I won't feel shy about jotting something down!
My favorites from this year:
Life
In list format, other things that were great this year:
2025
I'm going to be targeting a longer term project for the next year. Not much to say just yet, more to come later.
For everything else: Chop wood, carry water.
See you there! 🪵🪣
Knowledge Pyramid
Neal Ford and Mark Richards present a useful way of thinking about knowledge as a technologist through the knowledge pyramid.
Mark’s pyramid illustrates how fundamentally different the role of architect compares to developer. Developers spend their whole career honing expertise, and transitioning to the architect role means a shift in that perspective, which many architects find difficult.
Here, this is applied to software architect as a role. I'd say it's also helpful for anyone in a product decision making role to consider.
The focus early on in a career is in specialization. As responsibilities expand, it becomes more important to gradually fatten the T.
Dynamo
A friend recently asked me how I keep up with so many practices. Specifically how I find the energy to do it.
The secret is that the energy comes from doing it all.
Walt Stanchfield explains it well in an essay advocating for keeping a sketchbook:
Carry a sketch book — a cheap one so you won't worry about wasting the page. Sketch in the underground, while watching television, in pubs, at horse shows. Sports events are especially fun to sketch — boxing matches, football games, etc. Draw constantly. Interest in life will grow. Ability to solve drawing problems will be sharpened. Creative juices will surge. Healing fluids will flow throughout your body. An eagerness for life and experience and growth will crowd out all feelings of ennui and disinterest.
Where are you going to get all this energy, you ask? Realize that the human body is like a dynamo, it is an energy producing machine. The more you use up its energy, the more it produces. A work-related pastime like sketching is a positive activity. Inactivity, especially in your chosen field, is a negative. Negativity is heavy, cumbersome, debilitating, unproductive, and totally to be avoided. Take a positive step today. Buy a sketch book and a pen (more permanent than pencil), make a little rectangle on the page and fill it with a simple composition.
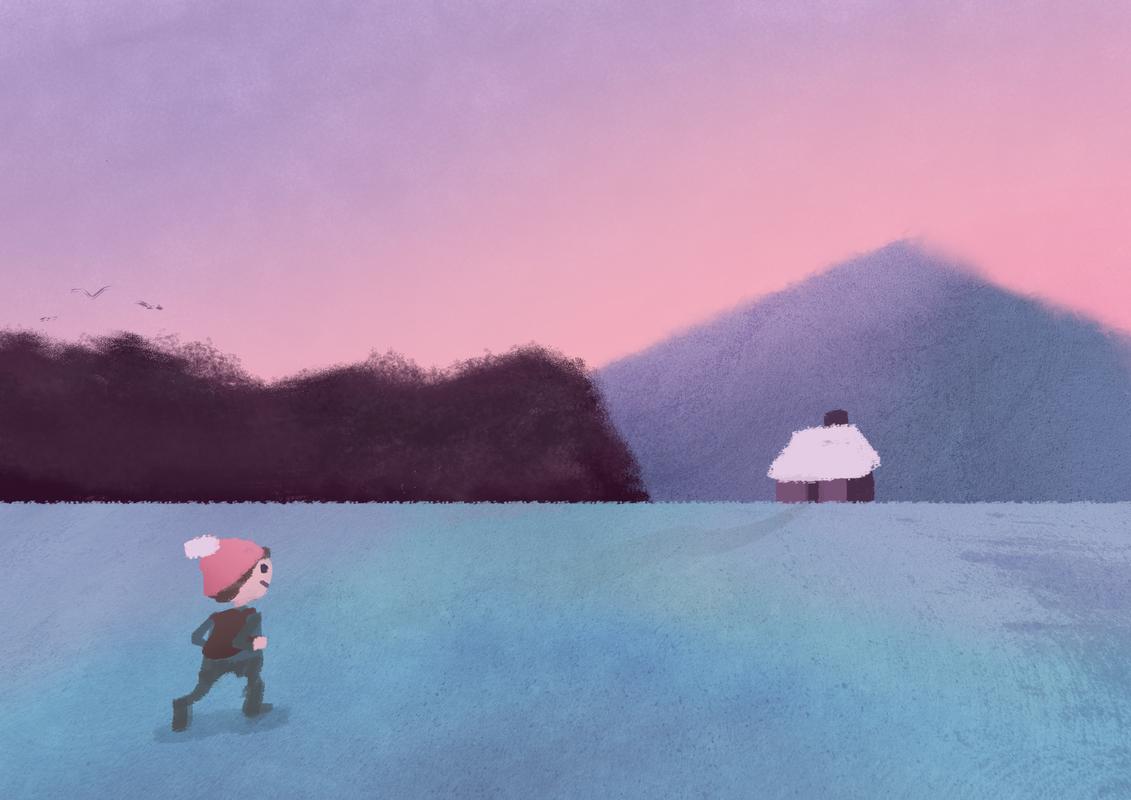
Have Yourself a Merry Little Christmas
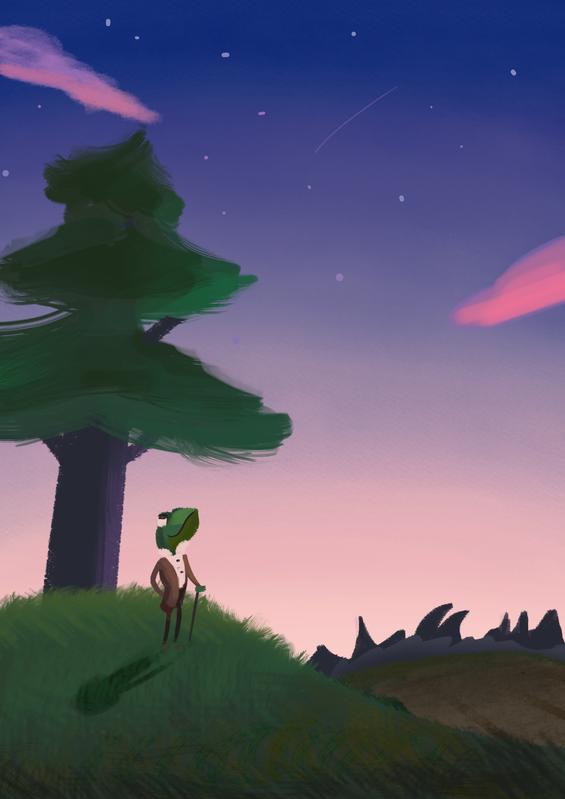
Winter Night
⭐️
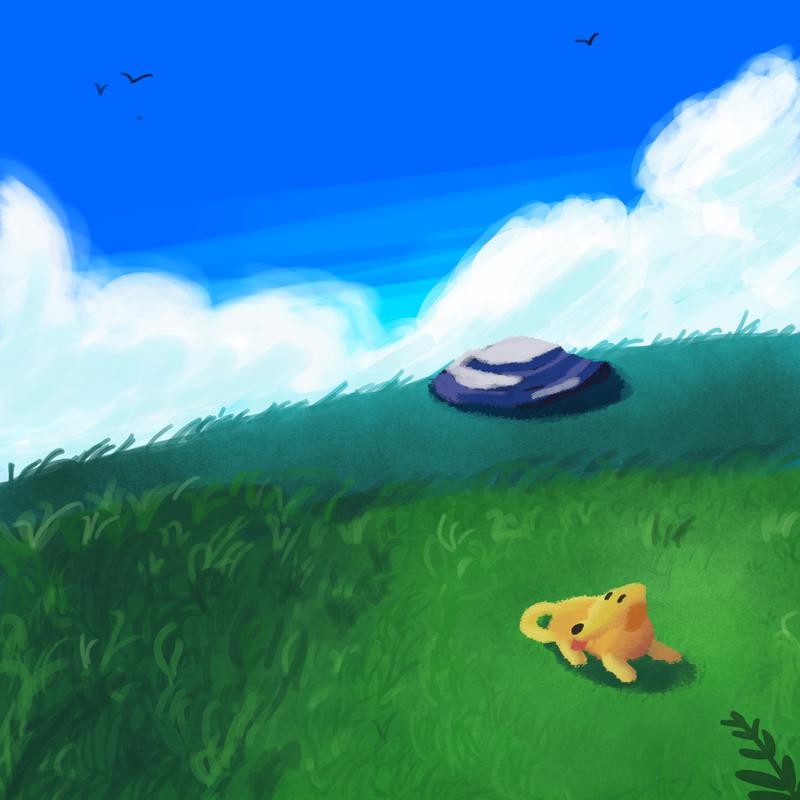
New Album — SkyBox 🫧🐠

Happy holidays!! New music is out today!
⋆.˚🐠‧₊ Frutiger Aero inspired music! ˚✩ ₊˚🫧⊹♡
Late 2000s tech had a unique vibrancy that made it feel almost magical. A new wave of color and light, glowing portals that illuminated worlds imagined and real. It was truly alive, how you interacted with it was so novel. More intuitive than ever before.
The anticipation for this promised future was at its strongest as you began to load up that new system you brought home. Powering it on. Walking through the startup process. Being greeted to something wholly new...
Thanks for listening! May it feel just like opening up a Nintendo Wii for the holidays.
Derek Sivers and Websites
A surprisingly technopositive view from Derek Sivers on AI learning from your own public content:
Come and get me. I want my words to improve your future decisions.
I’m trying to thoroughly write my thought processes, values, and worldview, so that you can remember it, re-create it and improve upon it. (Remember me. Re-create me. Improve upon me.)
Another case for how a website can become a life's work. And how that life's work can have impact, even if it's obfuscated. Perhaps that's the ego-less way of viewing it, assuming your words and images will be taken out of context and converted to a single data point in a larger model.
Though, a site unto itself is still more inspiring since it's a portrait of a life. We're wired for that. There's more meaning to derive from an individual than a summarized report.
So I think I'll keep at it.
Getting Started with LangGraph
LangChain is emerging as a popular choice for Reactive AI applications. However, when you need a higher degree of control and flexibility in a project, LangGraph offers exactly that. All the while, still providing guide rails and tooling for quick iteration and development.
Below, I'll share the absolute essentials needed to get started with LangGraph! With this toy app, we'll cover all the major concepts for developing a graph. Here, I'll do so with a Joke Telling AI application. While it's a simple app, this should demonstrate a foundation for developing your own RAG applications.
Setting Annotations
LangGraph is really a state machine at the end of the day. To get started, you'll want to define the state that will persist and change through your graph. These defenitions are referred to as Annotations in LangGraph.
Below, I'm creating an Annotation with two pieces of state: messages and selectedModel. I want to be able to add and keep track of messages. Additionally, I want to be able to select which model to invoke.
import {Annotation} from "@langchain/langgraph";
import {BaseMessage, HumanMessage, SystemMessage} from "@langchain/core/messages";

export const GraphAnnotation = Annotation.Root({
    messages: Annotation<BaseMessage[]>({
        reducer: (current, update) => current.concat(update as BaseMessage[]),
        default: () => [],
    }),
    selectedModel: Annotation<string>({
        reducer: (current, update) => update,
        default: () => "",
    }),
});
Defining the Workflow
Once you have defined your Annotation, you can then outline the flow of your graph. Graphs are composed of two elements: Nodes and Edges. A Node is a function that will run. An Edge is the direction taken following a Node's completion.
Additionally, we can define Conditional Edges. These are steps in the graph that will assess which Node to access next.
Before getting into the details, let's outline a simple graph:
import {StateGraph} from "@langchain/langgraph";

const workflow = new StateGraph(GraphAnnotation)
    .addNode("OpenAI", callOpenAI)
    .addNode("Anthropic", callAnthropic)
    .addConditionalEdges("__start__", selectModel)
    .addEdge("OpenAI", "__end__")
    .addEdge("Anthropic", "__end__");
My graph here defines two Nodes, each invoking a 3rd party LLM. Below that, I'm defining a Conditional Edge. And below that, I'm adding simple Edges to the end of the application.
Creating the Nodes
Nodes are simply functions that are called. Their expected output is the state we want to change in the graph. For example, when calling a model, I want the AI response to be added to my array of messages. Here's what both of those Nodes will look like:
import {ChatOpenAI} from "@langchain/openai";
import {ChatAnthropic} from "@langchain/anthropic";

const callOpenAI = async (state: typeof GraphAnnotation.State) => {
    const model = new ChatOpenAI({temperature: 0});

    const messages = state.messages;
    messages.splice(messages.length - 2, 0, new SystemMessage(prompt));
    const response = await model.invoke(messages);

    return {messages: [response]};
};

const callAnthropic = async (state: typeof GraphAnnotation.State) => {
    const model = new ChatAnthropic({temperature: 0});

    const messages = state.messages;
    messages.splice(messages.length - 2, 0, new SystemMessage(prompt));
    const response = await model.invoke(messages);

    return {messages: [response]};
};
Notice that I'm adding a SystemMessage before invoking each model. This is where I can provide my prompt:
const prompt = "You are a hilarious comedian! When prompted, tell a joke.";Routing With the Conditional Edge
Earlier we defined in our Annotation a selectedModel state. In our Conditional Edge, we'll make use of it to route to the preffered model:
const selectModel = async (state: {selectedModel: string}) => {
    if (state.selectedModel === "OpenAI") {
        return "OpenAI";
    }

    return "Anthropic";
};
Note that I'm returning the name of the Node that I'd like the graph to traverse to next.
Persistence
Persistence is a larger topic in LangGraph. For today, we'll be making use of the in-memory saver. Know, here, that you can use your own plugin for strategies that utilize SQL Databases, MongoDB, Redis, or any custom solution:
import {MemorySaver} from "@langchain/langgraph";

const checkpointer = new MemorySaver();
Calling the Graph
With all of this set, we're ready to use the graph!
Below, I'll compile the graph with the checkpointer I created above. Once I've done that, I'll create a config object (the thread_id is a unique identifier for a conversation had with the user and graph. It's hardcoded here for simplicity.) With both of these, I'll invoke the graph, passing the initial state as well as my config object.
import {RunnableConfig} from "@langchain/core/runnables";


export const compiledGraph = workflow.compile({checkpointer});

const runGraph = async () => {
    const config = {configurable: {thread_id: "123"}} as RunnableConfig;
    const {messages} = await compiledGraph.invoke(
            // Initial updates to State
            {selectedModel: "OpenAI", messages: [new HumanMessage("Tell me a joke!")]},
            // RunnableConfig
            config,
    );
    console.log(messages[messages.length - 1].content);
};

runGraph();

// Logs the following:
// Why couldn't the bicycle stand up by itself?
//
// Because it was two tired!
There you have it! With that, you're off and away on developing with AI! 🚴
A Little Tear
The Sarah Vaughan recording of this is absolute magic, my goodness.
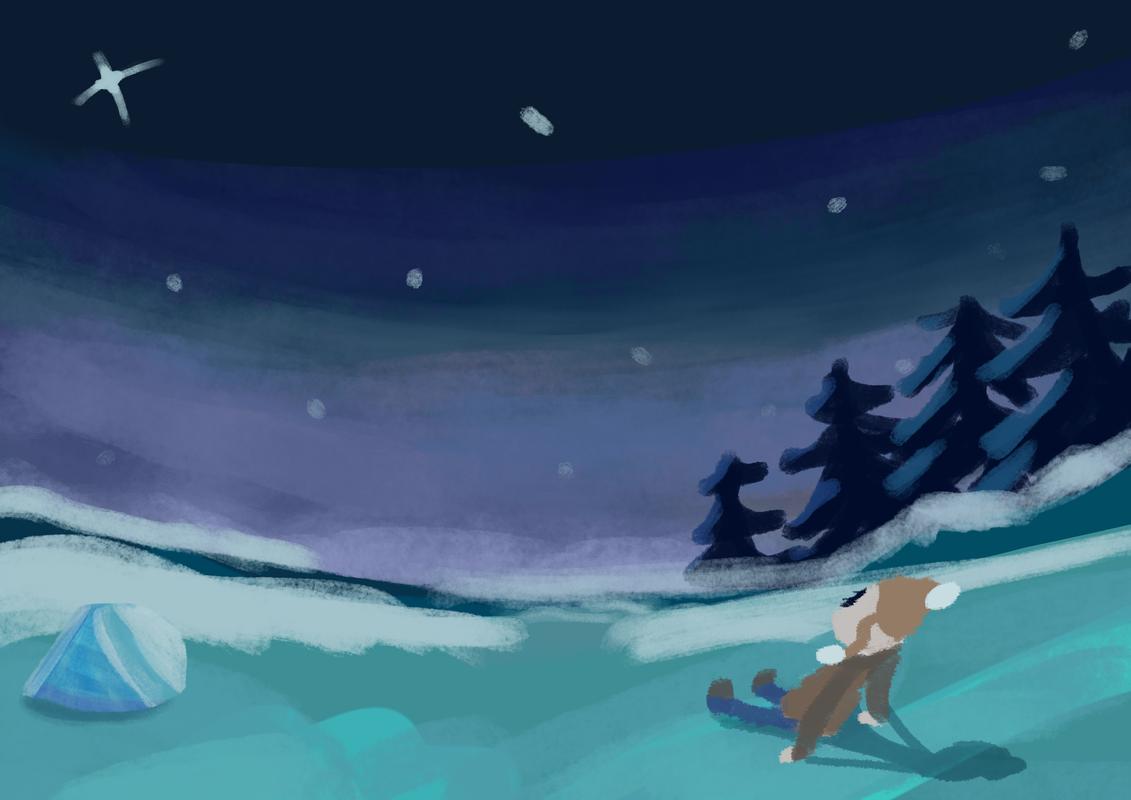
Snow Trek Home
❄️
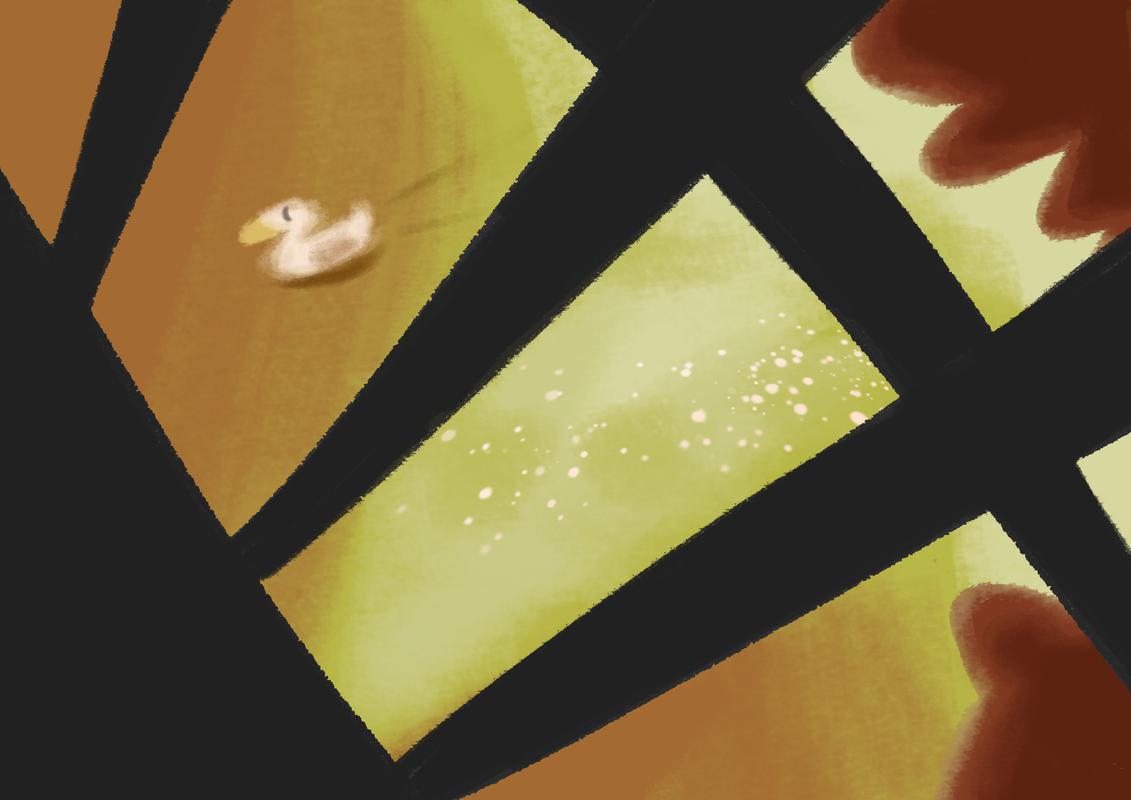
Mostly Cloudy
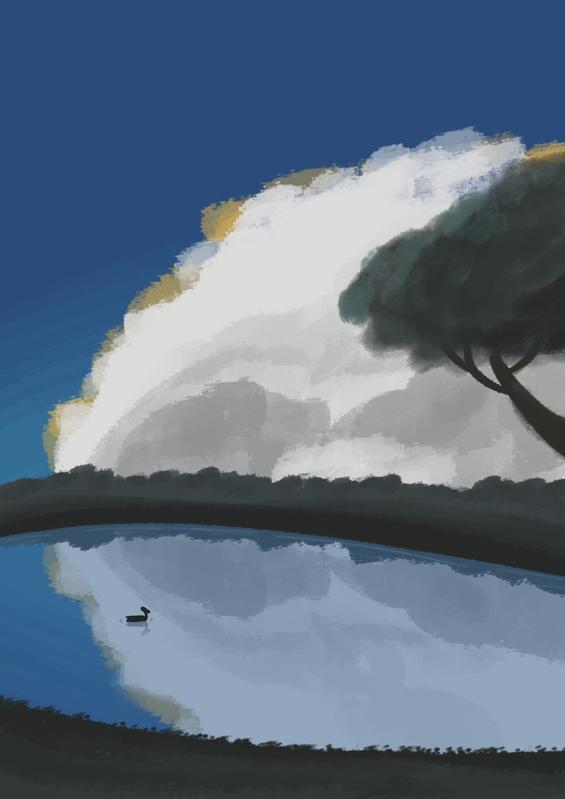
Clear water, cloudy sky. Squeezing this in between moving this weekend!
Kyle Webster and Why the Work Matters
Why Bother? From Kyle Webster's newsletter:
It’s not that your work, itself, will change the world; no, only a few people in history will create something that resonates so strongly that it forces people to stand up, pay attention, and actually act on the feelings your masterpiece has stirred within them.
Instead, it’s the mini-milestones you achieve while doing your work that matter because each of these little ‘wins’ makes you feel good. Feeling good is the foundation for doing good. Positive emotions facilitate cooperation, unity and understanding in a community.
It's not explicitly said, but I'll add how wonderful it is that skill does not necessarily make a difference. The doing and growing are what gives life and bouyancy. Engagement > Product.
Dindi
Sky, so vast is the sky, with far away clouds just wandering by~
Where do they go? Oh I don't know...